Stop Ice Dams and Prevent Roof Damage
Last Updated: March 2025
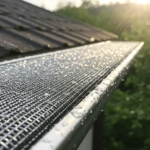
Ice dams and frozen gutters cause thousands in avoidable repairs each winter. Gutter heat tape, also known as roof de-icing cable, offers an effective and affordable prevention method.
Gutter Heat Tape: Definition and Purpose
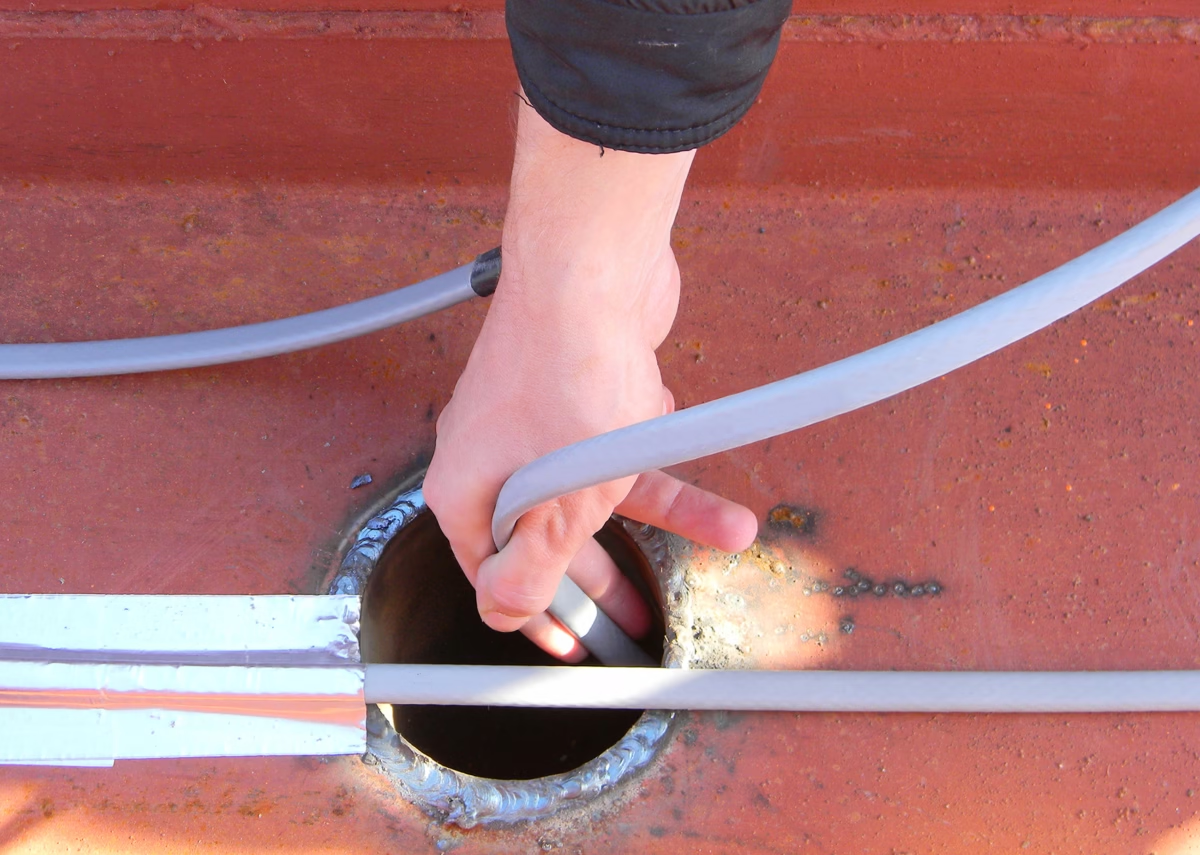
Gutter heat tape (also called roof de-icing cable or gutter heating cable) prevents water from freezing in your gutters. Heat tape is installed along roof edges, inside gutters, and downspouts. When powered, the cable gently warms these surfaces, keeping water from freezing during cold weather.
The Problem of Ice Dams and How Gutter Heat Tape Prevents Them
To understand why gutter heat tape is important, you first need to understand a common winter hazard: ice dams.
The Definition of Ice Dams and Their Impact on Your Roof
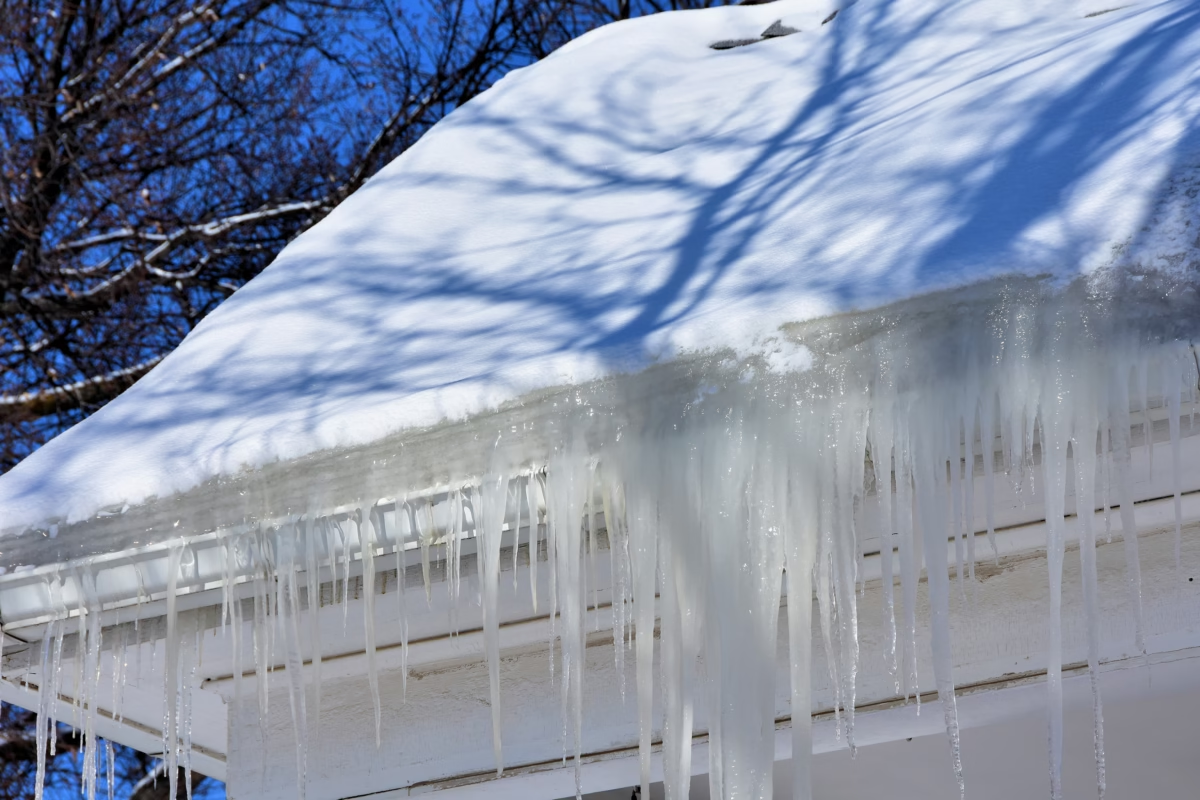
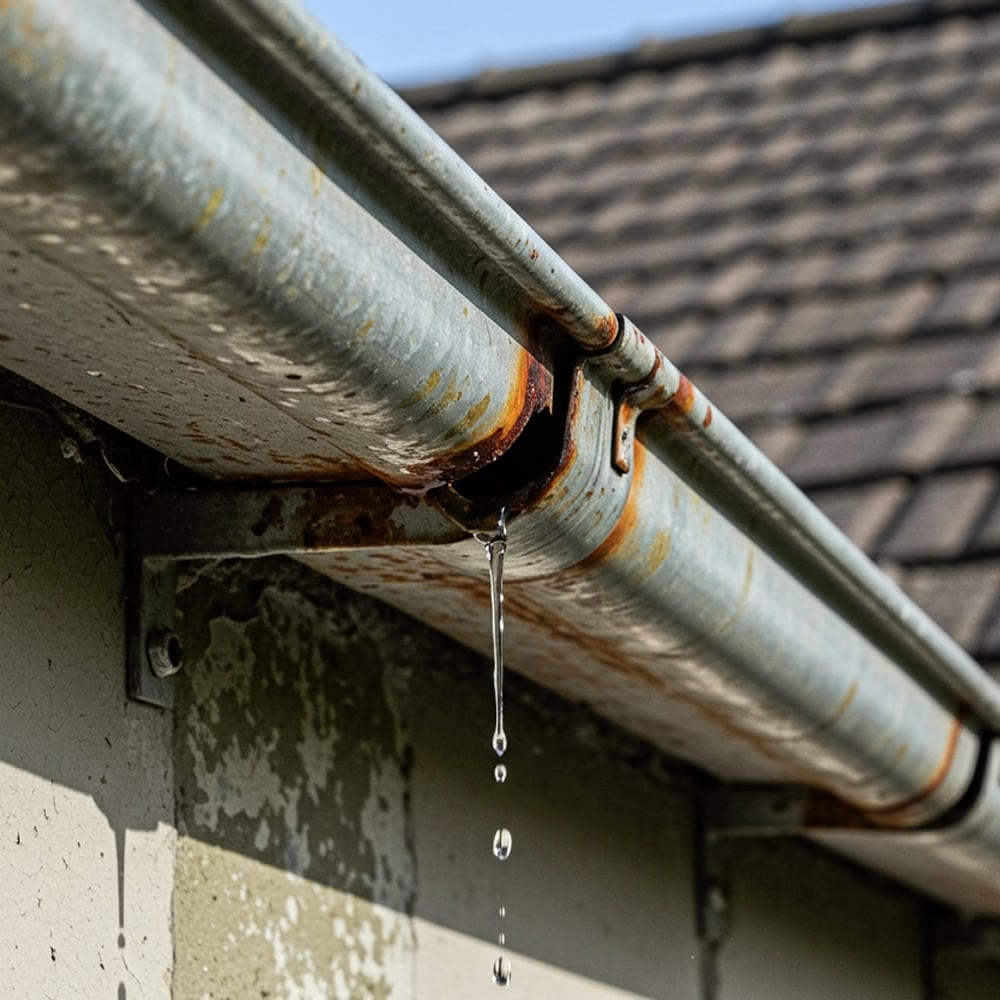
An ice dam is a ridge of solid ice that forms along the edge of a roof when melting snow refreezes before it can drain. This ice barrier blocks meltwater, which then backs up under shingles, causing roof leaks, water stains, structural wood rot, mold growth, and gutter failure.
The formation of ice dams occurs when melt snow on the roof melts, but overnight temperatures refreeze the runoff. Without a clear drainage path, the water has nowhere to go but sideways or back into your home.
How Gutter Heat Tape Prevents Ice Dams and Roof Damage
Gutter heat tape keeps drainage paths warm enough for water to flow safely away from your home when temperatures are below freezing. It doesn’t heat your entire roof; instead, it targets problem-prone zones like:
- Roof eaves (where snowmelt refreezes)
- Inside gutters (where water can accumulate and freeze)
- Downspouts (where clogs can trap ice and create pressure)
- Roof valleys and skylight edges (where snow buildup is most intense)
By preventing ice buildup, gutter heat tape reduces your risk of water damage, costly repairs, and dangerous icicle formation. It also minimizes the need for winter maintenance, like climbing ladders to clear frozen gutters.
Why Typical Roof Insulation Isn’t Enough
While attic insulation and ventilation help reduce the risk of ice dams, they don’t guarantee protection. Homes with complex rooflines, north-facing eaves, or shaded sections are particularly susceptible. In these cases, even well-insulated homes can experience freeze/thaw cycles that lead to damming. That’s where installing heat cables offers an added layer of defense.
How Gutter Heat Tape Works
At its core, gutter heat tape is a simple technology. Its effectiveness depends on smart design and proper installation. The system uses electrical resistance to generate heat. The heat transfers to the roof edge, gutter, or downspout surfaces to prevent freezing.
The Basic Science Behind It
When electricity flows through the heat cable, resistance in the conductive material causes it to warm up. That heat radiates outward, warming nearby surfaces just enough to keep snowmelt from freezing. The goal isn’t to melt all the snow on your roof—just to keep drainage paths clear.
This additive heating ensures that, as snow melts from sun exposure or internal roof heat loss, it can safely reach the gutter system.
Two Main Types of Gutter Heat Tape
Understand the differences between heat tape types to select the right system for your climate and energy needs.
1. Self-Regulating Heat Tape
This advanced type of heat cable automatically adjusts its heat output based on the surrounding temperature.
- How it works: The cable contains a conductive polymer core. As outdoor temperatures drop, the molecular structure changes, allowing more electrical current to flow—producing more heat.
- Benefits:
- Energy-efficient: uses less power in warmer conditions
- Longer lifespan
- Reduces overheating and fire risk
Ideal for: Extreme climates, north-facing roofs, and homeowners prioritizing long-term energy savings.
2. Constant Wattage Heat Tape
This simpler type of cable produces a consistent level of heat regardless of outdoor temperature.
- How it works: An internal wire emits the same wattage when powered.
- Benefits:
- Lower upfront cost
- Easier to source at most hardware stores
- Limitations:
- Less efficient in mild temperatures
- Higher chance of overheating over time
- May require manual shutoff to prevent energy waste
Ideal for: Short-term use, mild climates, or homeowners on a budget who are comfortable with manual operation.
System Components and Power Supply
A typical gutter heat tape setup includes:
- The cable itself (sold by the foot or in kits)
- Clips and fasteners to attach the cable securely to your roof and gutters
- Power connections with weatherproof plugs or hardwired terminations
- An optional thermostat or control box to automate activation when temperatures fall below a set threshold
The system connects to a GFCI (ground fault circuit interrupter) outlet or dedicated circuit. It typically runs on standard 120V or 240V AC power, depending on system size and cable length.
Safety Considerations
While modern heat tape systems are safe when installed correctly, electrical heating devices exposed to weather require extra caution:
- Use cables rated for outdoor and roof applications
- Always install with proper drip loops and sealed connections to prevent water ingress
- Do not cross or overlap cables unless the manufacturer specifically permits it
- Periodically inspect for damage, wear, or loose connections—especially before the start of winter
Where to Install Gutter Heat Tape for Maximum Effectiveness
Installing gutter heat tape in the right locations is just as important as choosing the right type of cable. Improper placement can lead to partial ice clearance, persistent blockages, and wasted energy. To fully protect your roof and gutter system, focus on problem-prone areas where water tends to freeze first.
Key Areas for Heat Tape Placement
1. Roof Eaves (Edge Overhangs)
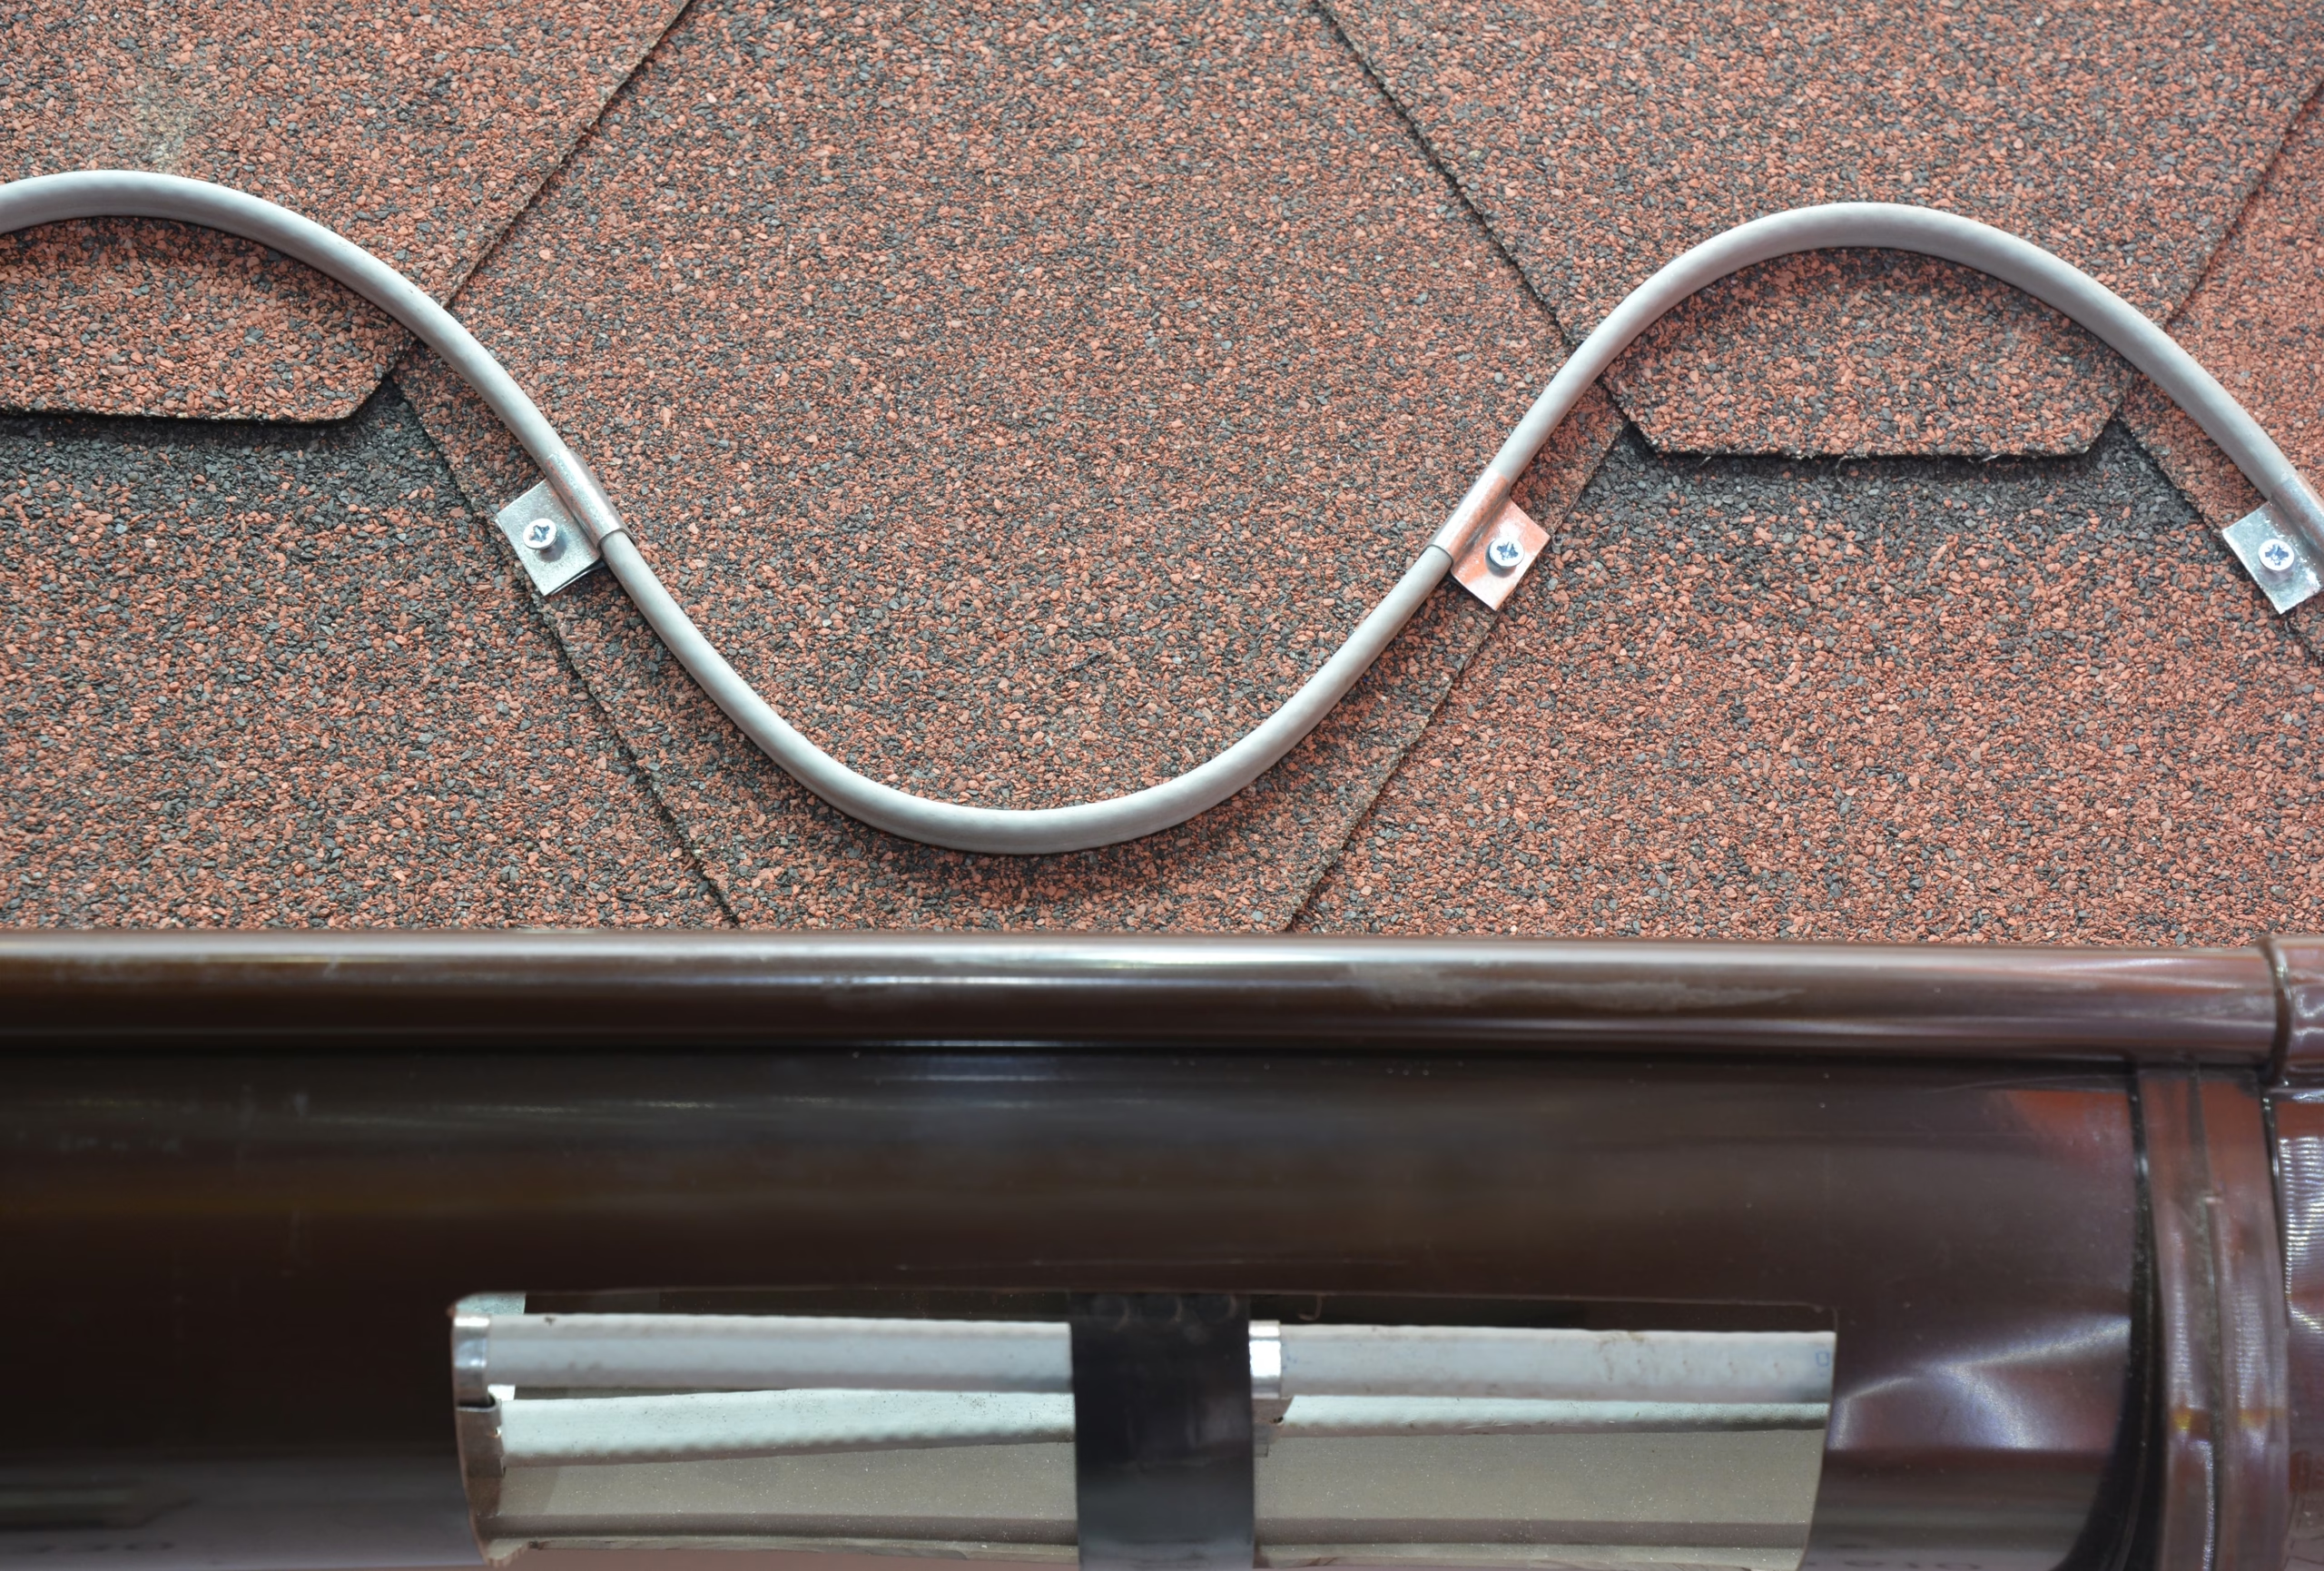
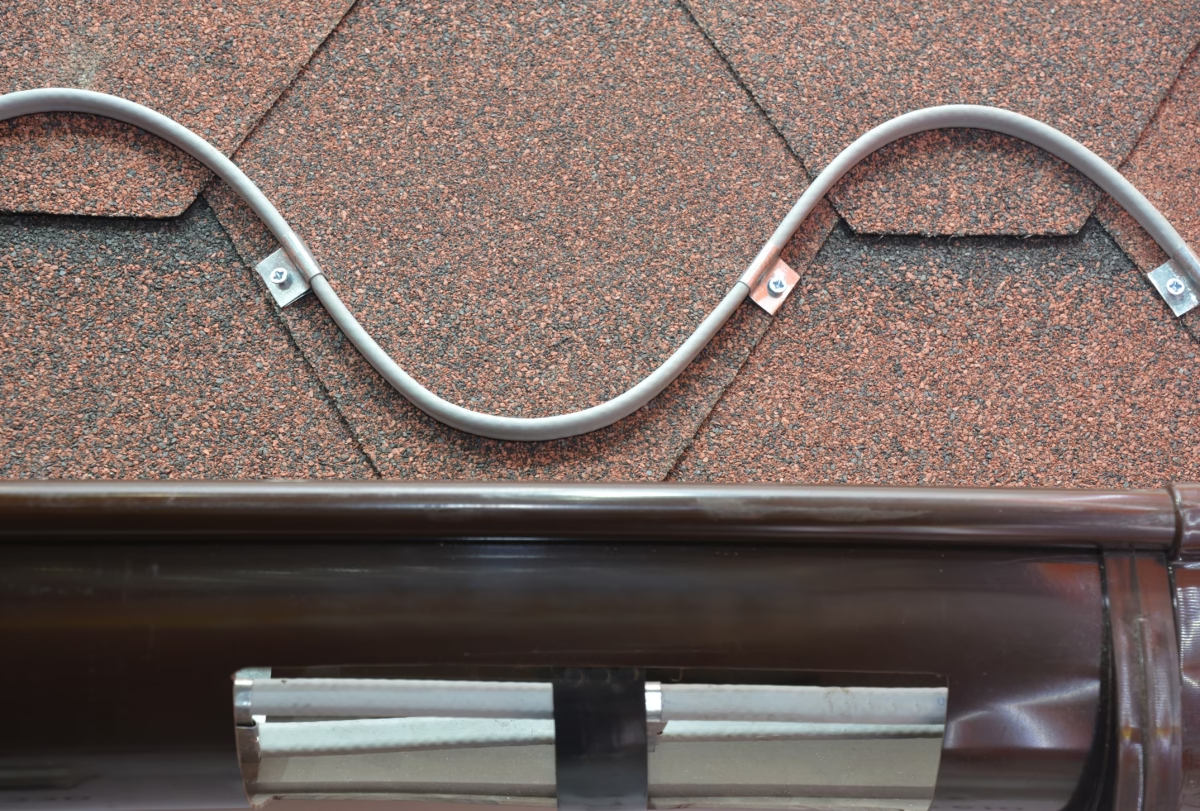
This is the most common installation point—and with good reason. As snow melts higher on the roof, it travels downward and refreezes at the cold eaves, which don’t benefit from attic warmth.
- Recommended pattern: Zigzag along the edge, extending 6″ up the roof and into the gutter.
- Purpose: Creates flow channels that direct meltwater into the gutter system.
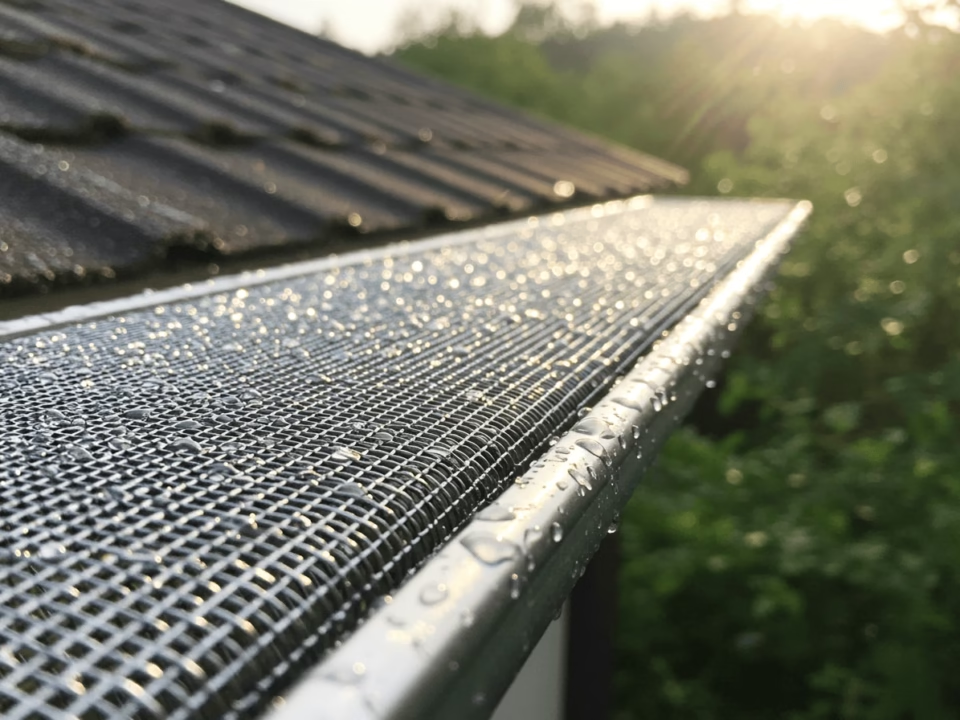
2. Inside Gutters
Even if the roof edge is kept warm, unprotected gutters can collect snowmelt and refreeze. This ice buildup can push outward, damaging fascia boards or separating gutters from the roofline.
- Tip: Secure the cable along the inside bottom of the gutter and run it to each downspout.
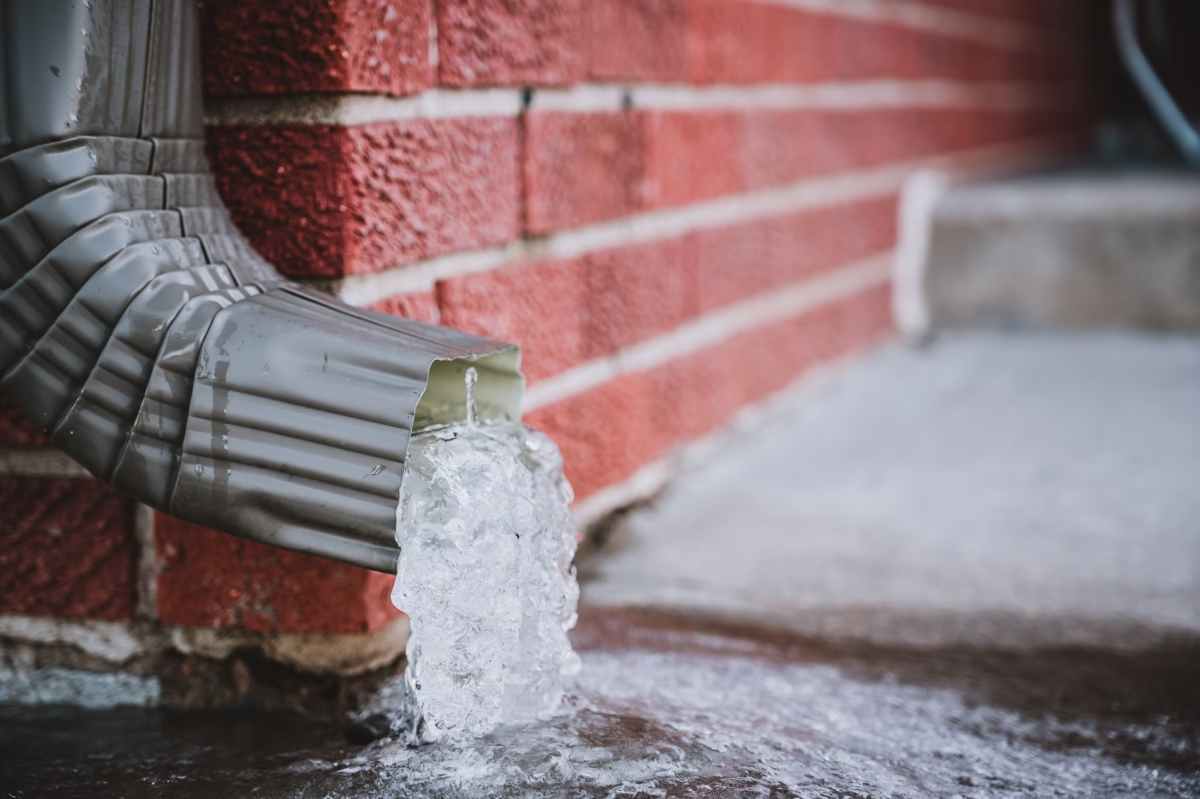
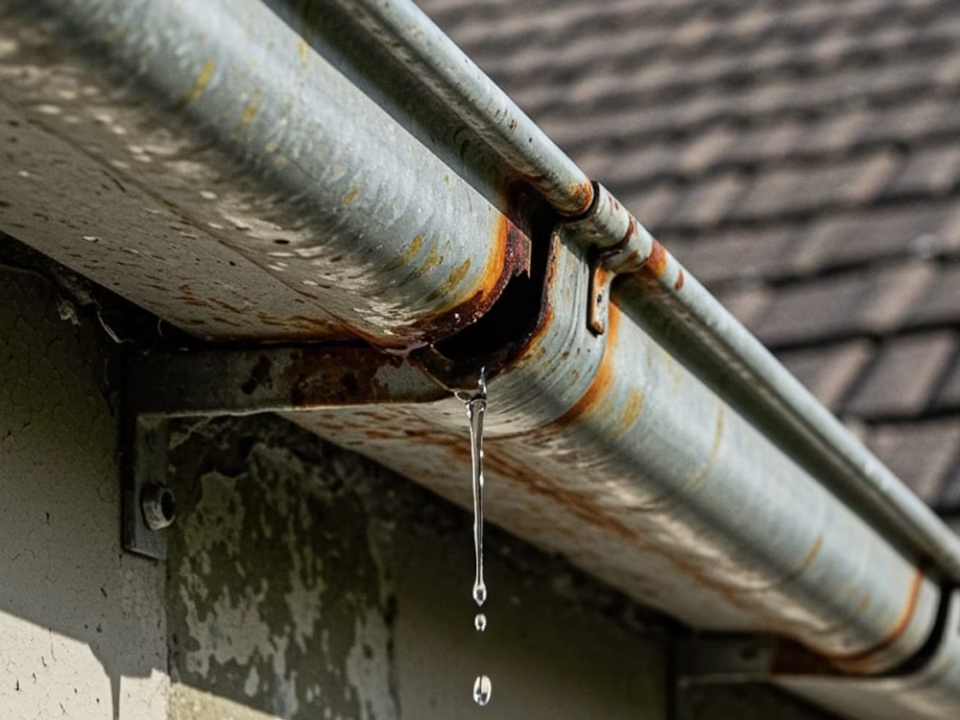
3. Downspouts
Without heat, downspouts can become clogged with ice, causing backups that lead to overflowing gutters and dangerous icicle formations.
- Best practice: Run the heat cable through the full vertical length of each downspout and allow it to extend slightly beyond the discharge point.
4. Roof Valleys
Valleys—where two roof slopes meet—collect large amounts of snow and direct it into limited drainage paths. They are high-risk zones for water pooling and ice damming.
- Strategy: Install cables down the centerline of the valley to maintain an open melt channel.
5. Around Skylights and Roof Protrusions
Skylights, dormers, and chimneys disrupt smooth snow flow and are prone to forming ice ridges. These areas are often overlooked during installation.
- Tip: Trace around the perimeter of skylights and along the base of dormers to keep runoff flowing.
6. Problem Areas with Ice History
If your home has areas where ice forms every winter, these should receive double coverage or extended cable loops.
Professional Insight: Why Placement Matters More Than Cable Quality
In field testing, placement alone increased effectiveness by up to 34%, even when using mid-range cable systems. Conversely, even premium heat tape underperformed when installed incorrectly or only partially.
Properly placed systems ensure:
- Water has a clear, heated path from roof to ground
- Ice dams are prevented, not just delayed
- Energy is used efficiently, avoiding excessive cable length
Limitations and Considerations: What Heat Tape Can’t Do
While gutter heat tape is a powerful tool for preventing ice dams, it’s not a silver bullet. Homeowners should understand its limitations, dependencies, and long-term requirements before deciding to install.
1. Heat Tape Is Not a Substitute for Proper Insulation
If your attic is poorly insulated or ventilated, warm air from your living space can escape and heat the roof from below. This accelerates snowmelt and increases the risk of ice dams—putting added strain on the heat tape.
Key Point: Homes with poor attic insulation often need more cable and electricity for the same level of protection.
Before installing heat tape, assess whether insulation or ventilation upgrades could reduce heating load and improve overall roof performance.
2. Installation Quality Matters More Than Cable Brand
While premium materials offer better durability, system design and installation execution have the greatest impact on performance.
- Poorly placed cables won’t keep drainage paths clear.
- Improper fastening can cause cable failure or fire hazards.
- Missing electrical safety components (e.g., GFCI protection) increase risk.
Pro Insight: Professionally installed systems are up to 43% more effective than DIY installations using the same cable.
3. Lifespan Varies by Climate and Usage
Most heat tape systems last 5 to 8 years, depending on:
- Climate severity (frequent freeze-thaw cycles increase wear)
- Installation exposure (UV damage, mechanical abrasion)
- Operational duration (systems that run continuously degrade faster)
Regular inspection before winter is essential to ensure continued protection and identify signs of wear or electrical failure.
4. Electrical Load May Require Circuit Upgrades
Heat tape draws a moderate but continuous current when operating. Many older homes—especially those with fully utilized circuit panels—may require electrical upgrades before installation.
- Typical load: 5–8 watts per foot of cable
- Common issues:
- Overloaded outdoor outlets
- Inadequate GFCI protection
- Extension cord misuse (not recommended)
Professional installers often recommend a dedicated circuit, which may add $200–$600 to total system cost
Should You Install Heat Tape?
Heat tape is ideal for homes with complex rooflines, shaded exposure, or past ice damage. Use a cost calculator to estimate savings versus install and energy costs.
Final Takeaway: Is Gutter Heat Tape a Smart Investment?
If your region has snow, freezing rain, or prolonged sub-zero temperatures, gutter tape is an effective way to prevent ice dams. Preventing ice dams prevents roof leaks and costly structural damage.
Homes in warmer climates may not benefit. Heat tape works best when paired with good attic insulation and proper installation. But for homes at risk, it offers:
- Targeted ice dam prevention
- Reduced winter maintenance
- Protection against water intrusion and gutter system damage
- A multi-year return on investment that often outweighs the cost
FAQs About Gutter Heat Tape
How does gutter heat tape prevent ice dams?
By keeping drainage paths above freezing, it prevents ice dams from forming and reduces the risk of water backing up into the roof.
Is gutter heat tape safe to use?
When installed properly using outdoor-rated components and GFCI-protected circuits. Modern heat tape is UL-listed and designed to handle harsh winter conditions. Avoid overlapping cables and always follow manufacturer safety guidelines.
Can I install heat tape myself, or should I hire a professional?
DIY installation is possible, especially with constant wattage kits sold at hardware stores. However, larger homes with complex rooflines benefit from professional installation.
What’s the difference between self-regulating and constant wattage heat tape?
Self-regulating heat tape adjusts its heat output based on temperature, improving efficiency and longevity. Constant wattage tape delivers a fixed level of heat and is typically more affordable but less energy-efficient.
How long does gutter heat tape last?
Most systems last 5 to 8 years, depending on climate, installation quality, and usage. Regular winter inspections and proper installation can extend the system’s lifespan.
How much electricity does gutter heat tape use?
Usage depends on the cable type, length, and climate. Self-regulating systems consume less power overall. Expect about 5–8 watts per foot, with annual operating costs ranging from $100–$500 for a typical home in cold climates.
Do I still need attic insulation if I install heat tape?
Yes. Heat tape is not a replacement for attic insulation or ventilation. In fact, poorly insulated homes may need more heat tape to compensate for snowmelt caused by rising indoor heat.
Is heat tape worth it in milder climates?
In areas with occasional freezes or shaded roof sections, selective heat tape placement can still be beneficial. However, homes in warm climates with no history of ice dams likely won’t see a return on investment.
Will gutter heat tape work during a power outage?
No. Gutter heat tape requires a continuous power supply to function. In outage-prone areas, consider pairing the system with a backup generator or battery solution.
How do I know where to install gutter heat tape?
Focus on roof eaves, gutters, downspouts, valleys, and areas with past ice buildup. A home evaluation from a roofing or electrical professional can help determine optimal placement and cable length.

